Short Description
| Excerpt |
|---|
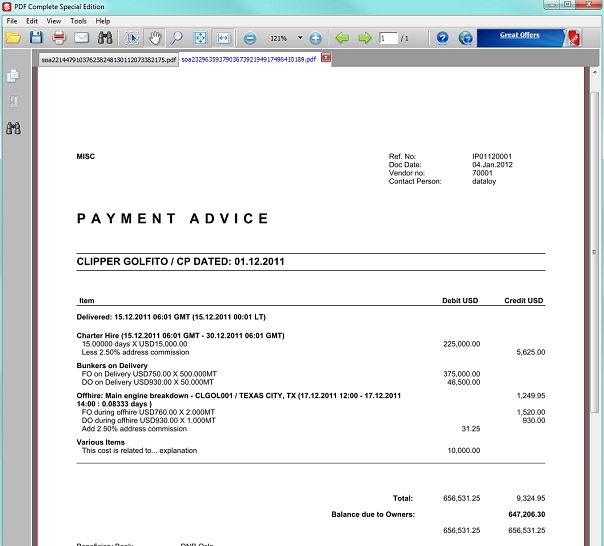
The Hire Payable module automatically retrieves all payable items to an Owner on a detailed level from across Dataloy VMS for Time Charter Contracts (all other payables are handled in Accounts Payable). Once retrieved, the payable items can be reviewed, assembled into invoices and posted to an accounting system. The module provides information about each payable item, based on already available data in Dataloy VMS, for example type of invoice, who the invoice is from, the amount, etc. |
The module consists of three sections:
...
- To print an invoice:
- Go to
Modules > Post Fixture > Accounts Receivable.The Accounts Receivable window will open - Click Posted at left-hand side. The Posted view will open displaying all posted invoices.
- Click the invoice to be printed in the upper field - it will highlight.
- Click Print and from the drop-dowm menu select Select Transaction...
- An Invoice Print Options pop-up will open. Enter details (as applicable) and click OK.
- The pop-up will close and an invoice will display as an electronic printout in PDF-format including the automatically generated Dataloy VMS invoice number.
Example:
- Go to
- To issue and print a Statement of Account:
- Go to
Modules > Post Fixture > Accounts Receivable.The Accounts Receivable window will open - Click Posted at left-hand side. The Posted view will open displaying all posted invoices.
- Click Print and from the drop-down menu select Statement of Account...
- A Print Options pop-up will open. Enter details (as applicable) and click OK.
- The pop-up will close and a statement of account will display as an electronic printout in PDF-format.
Example:
- Go to
Related Content
| Expand | ||
|---|---|---|
| ||
|


